Xenon Bulb Replacement
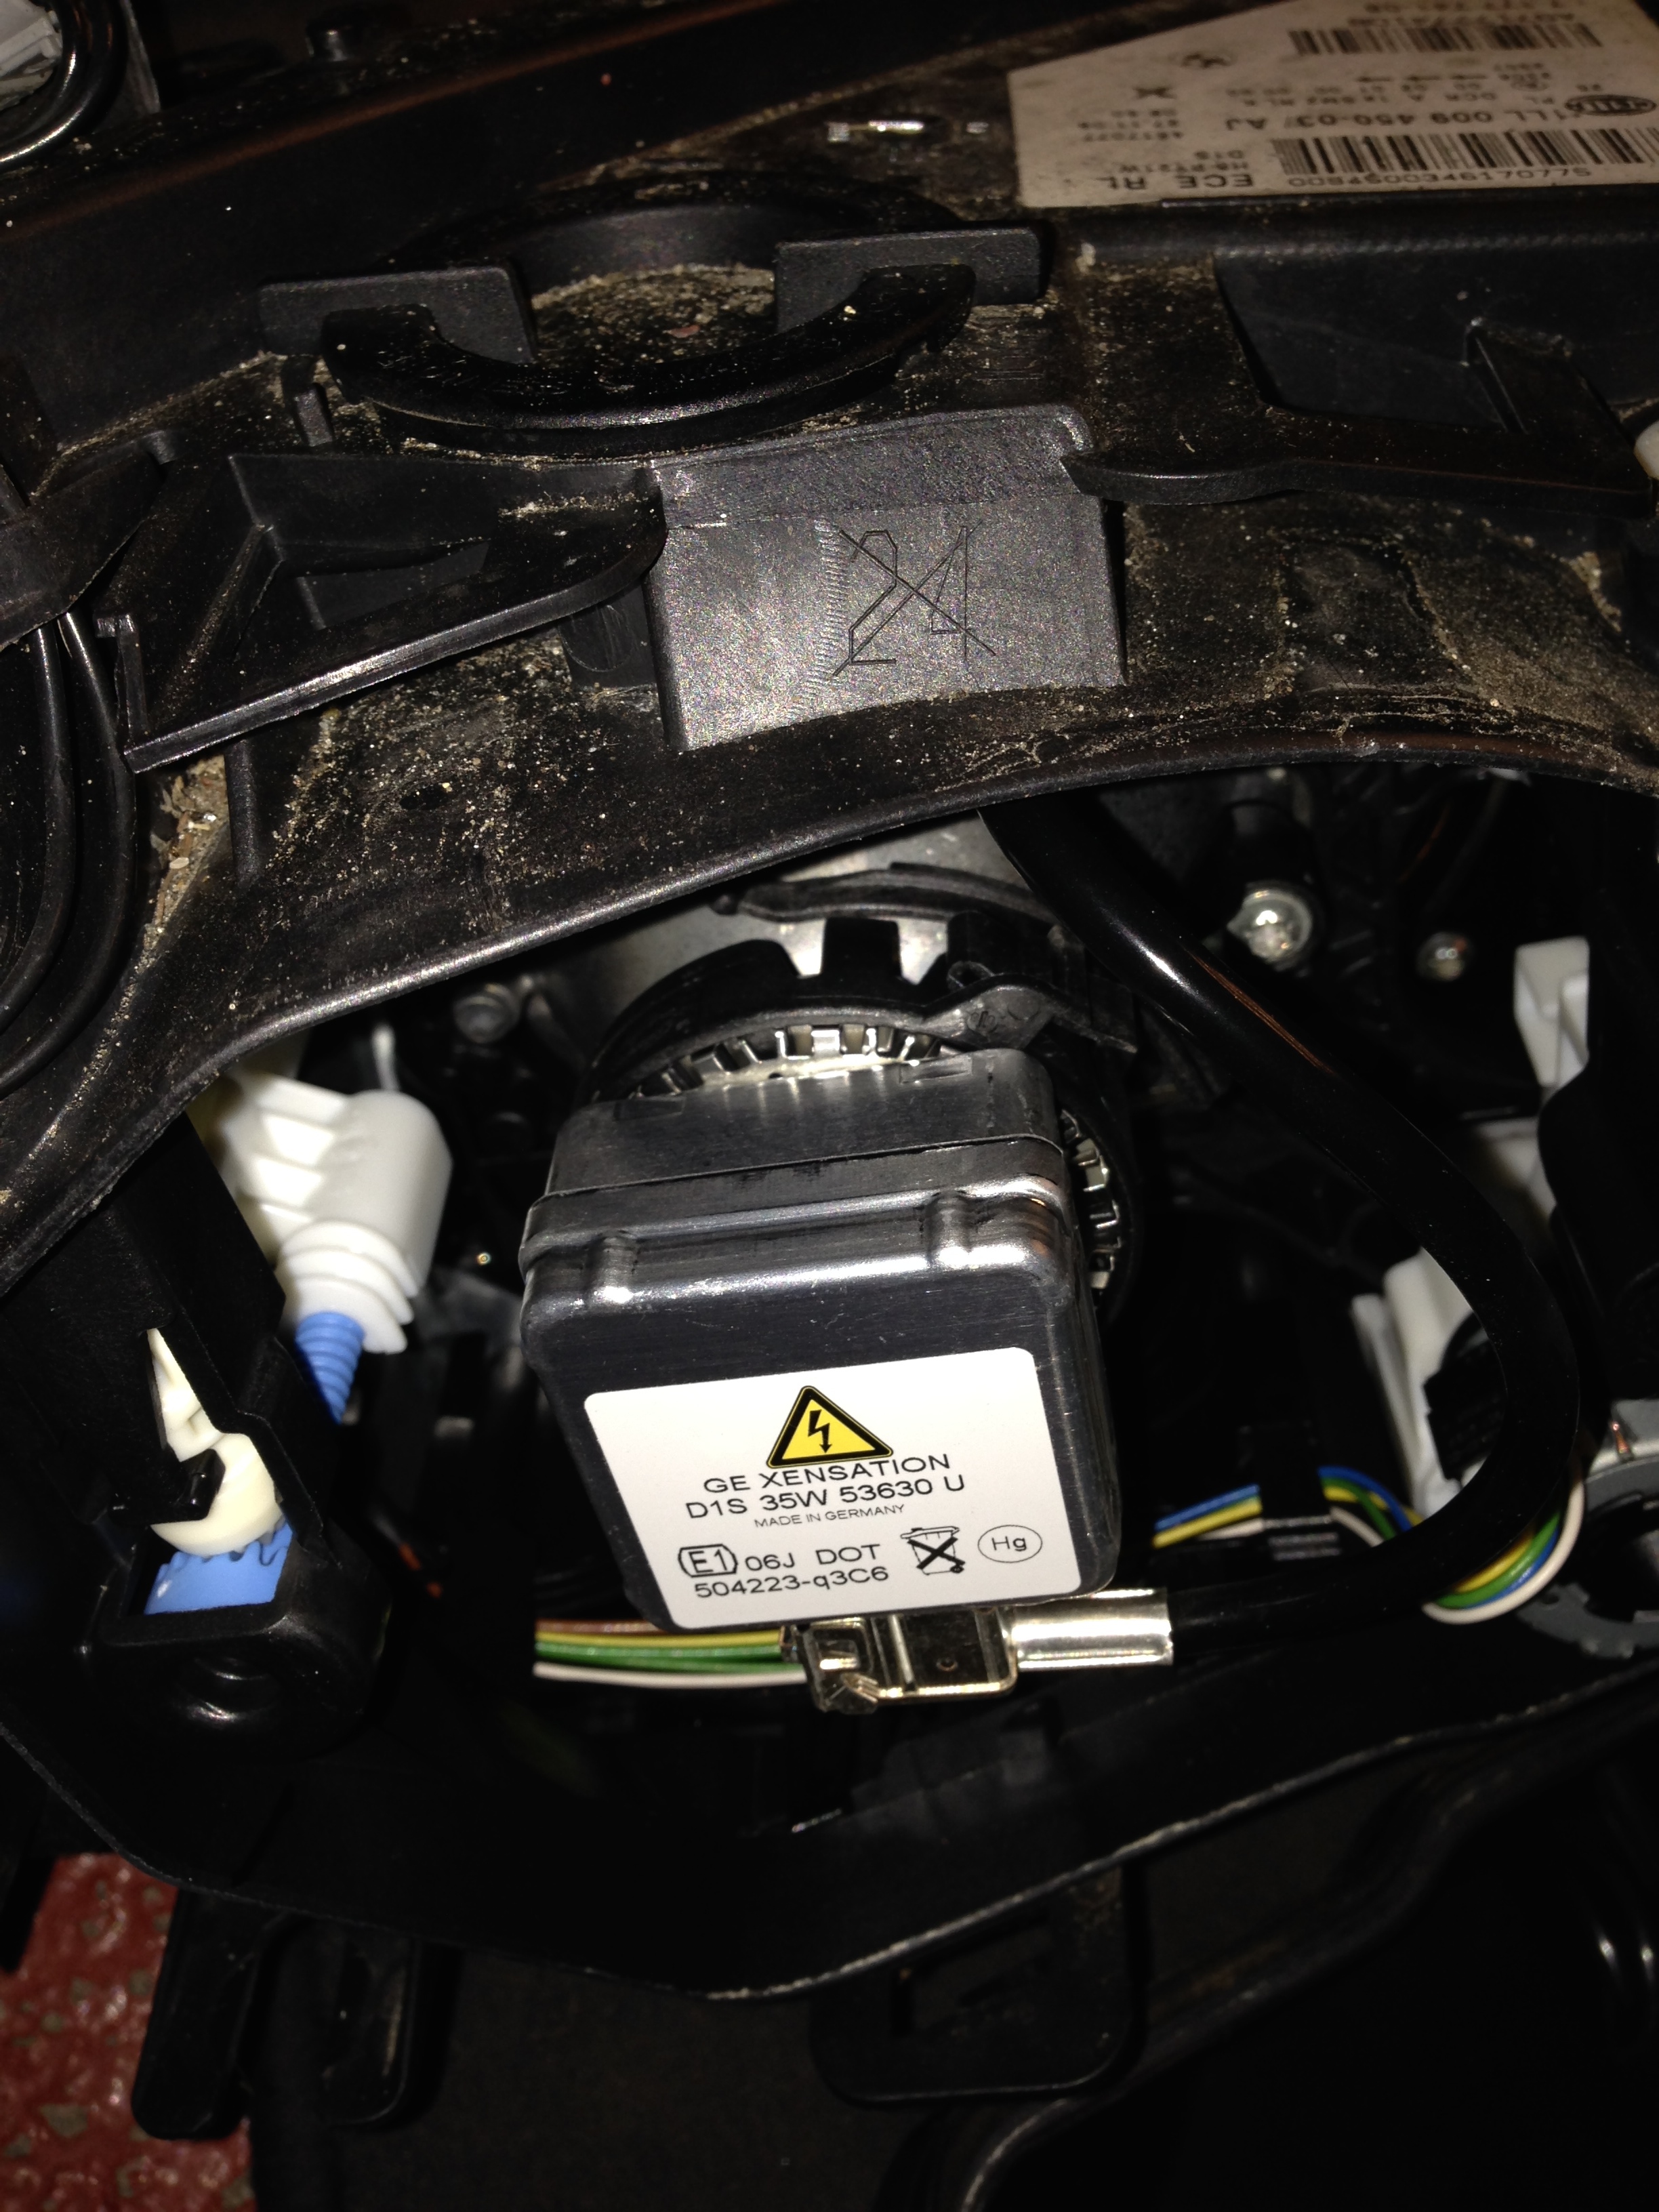
/Another little gremlin appeared last night on the way home where the nearside headlamp took on a distinctly pink hue. It turns out that this usually ends in total bulb failure within a short time so I sourced a new bulb from Halfords this morning for £47.99. I did phone BMW first but they didn't have any in stock and wanted over £170 each! I know there are dodgy bulbs available on ebay and other sites but these Halfords bulbs are manufactured by GE Lighting and are of perfectly good quality. They are guaranteed for 3 years with an expected lifetime of 3000 hours. The BMW bulbs are made by Osram but I fail to see how they can charge such a premium.
Fitting took about 20 minutes in the dark but I expect to be able to change the other side in 10 minutes now I know how it goes together. See comments under the photos for details.
End result is a pair of white lights again and although I didn't have much time to look at it closely, the light temperature and intensity looks very similar to the original bulb on the offside. To be honest I'm tempted to just leave the other side alone but I'll probably change it and then keep the working bulb as a spare.
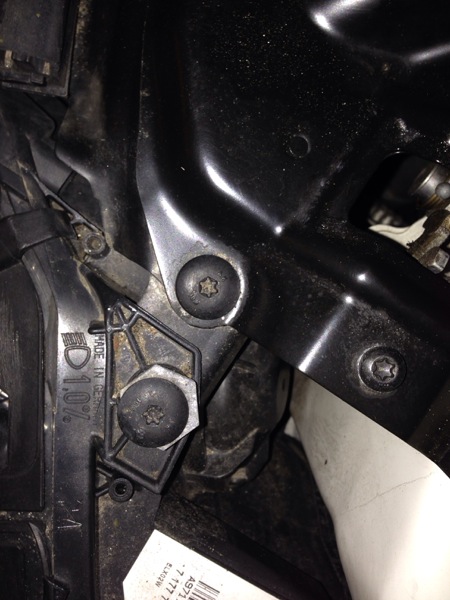
Inboard mount. It's the bottom left torx bolt with the hex nut beneath it.

Outboard mount. Note the bolt lengths are different on the inboard and outboard mounts.

Unit removed. Took a bit of wriggling to remove and required the removal of the inboard bayonet cap style cover to allow enough room for removal.

Inboard mountings. The upper mount is clear, the lower mount is visible too if you look closely. There is no need to remove the lower mount bolt, just loosen and slide out.

Outboard mountings. Lower mount with bolt still in place is visible just below the wiring connector. Again, just slots in and out when loosened.

View of back of headlamp with cover and bulb removed. Note metal wiring connector towards bottom right.

Old bulb with plastic collar still attached. Take care not to touch the glass or the igniter.

Transferring the plastic collar to the new bulb. Note how it detaches. Located with some notches and pegs.
Closeup of new bulb fitted.

New bulb fitted and wiring reattached.